



Measure the depth inside the tray, follow the litter directions and use the exact fill guidance for powered equipment.
Start with a Measured Depth for an Ordinary Tray
For an ordinary manual tray, begin with the litter package directions. If you are choosing an initial level, Cats Protection suggests about 3 cm, while the Scottish SPCA describes 3–4 cm for refilling a tray. That is roughly 1.2–1.6 inches as a starting reference for an ordinary tray. Follow the directions for the litter formula you choose.
Keep a level your cat already uses comfortably unless there is a reason to change. An automatic box has its own permitted litter and fill level; use those model instructions instead of transferring this ordinary-tray reference to the machine.
Measure from the Tray Floor to the Litter Surface
-
Set the tray on a stable, level surface and smooth the litter without packing it down.
-
At an accessible point, measure vertically from the inside floor to the top of the litter. The rim is not the starting point.
-
Check another part of the usable area so a mound does not stand in for the whole tray.
-
Record the depth and the litter name. Keep the measuring tool separate from kitchen utensils and wash your hands after handling the setup.
In a tray with a sloped or curved floor, note where you measured. Recheck at that same point when comparing changes.
Top Up What Was Removed, Not What Is Still Dirty
| Situation | What to do |
|---|---|
| You removed clumps and solid waste | Add suitable fresh litter to restore the chosen level, then measure again |
| Used litter needs a complete replacement | Empty and clean the tray as directed before establishing a fresh level |
| The litter is an absorbent pellet formula | Follow that formula's waste-removal and replacement method rather than treating it as clumping litter |
Adding fresh litter over soiled material does not complete a clean. Follow the litter box hygiene guide to empty, wash, dry and refill the tray.

Check the Setup Before Adding More
| What you notice | Check first | A useful next step |
|---|---|---|
| Digging exposes the tray floor | Measured depth and the product's directions | Restore the intended level and observe the next uses |
| Litter is pushed over the edge | Depth, side height and available digging room | Compare the box fit before assuming extra litter will help |
| Clumps are hard to lift | Formula instructions, depth and scoop technique | Correct one part of the routine at a time |
| Your cat hesitates or stops using the tray | Recent changes, access and signs of discomfort | Keep a familiar option available and seek advice for a sudden change |
Use the litter box size guide if the issue appears to be movement or space rather than depth.
Keep One Change Easy to Compare
Illustrative manual-tray example: A caregiver measures 2 cm of litter after scooping. The litter directions permit a 3 cm starting level. They add small amounts, smooth the surface and measure again until it reaches 3 cm. They keep the tray, litter and location unchanged while watching normal use.
| Setup | Before | Change | What to record next |
|---|---|---|---|
| Same manual tray and formula | 2 cm after waste removal | Restore to the permitted 3 cm level | Digging room, spillage and ease of waste removal |
Record depth in centimeters. For weight-based refill measurements, follow the directions for the exact litter formula.
Use the Automatic Box's Own Fill Instructions
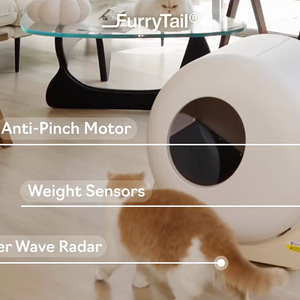
For an automatic box, identify the exact model, check the permitted litter formula and find the stated fill mark or range before adding litter. Keep within that guidance. If the marker or instructions are unclear, ask product support before running the equipment with a guessed level.
Review the Automatic Litter Box Pro for the model's features and care requirements, and use our automatic litter box litter guide when comparing formulas. A deeper layer is not a substitute for suitable litter or an unobstructed cleaning cycle.


